How to import a mailing list with Siteglide

"Hey Martin how do I import a mailing list with Siteglide??" I hear you ask. Good question, what you do is...
Step 1
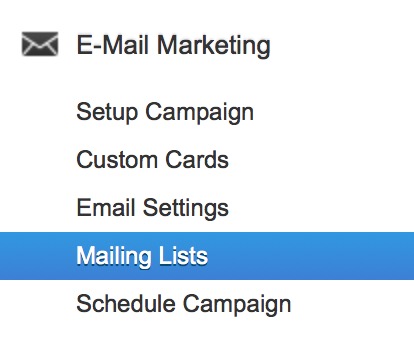
First, log in to your website to access your Siteglide portal and navigate to your "Mailing Lists" WebApp. If you can't see this, then you probably don't have the email marketing service setup on your account- but if you would like to, come and ask us about the benefits!
Step 2
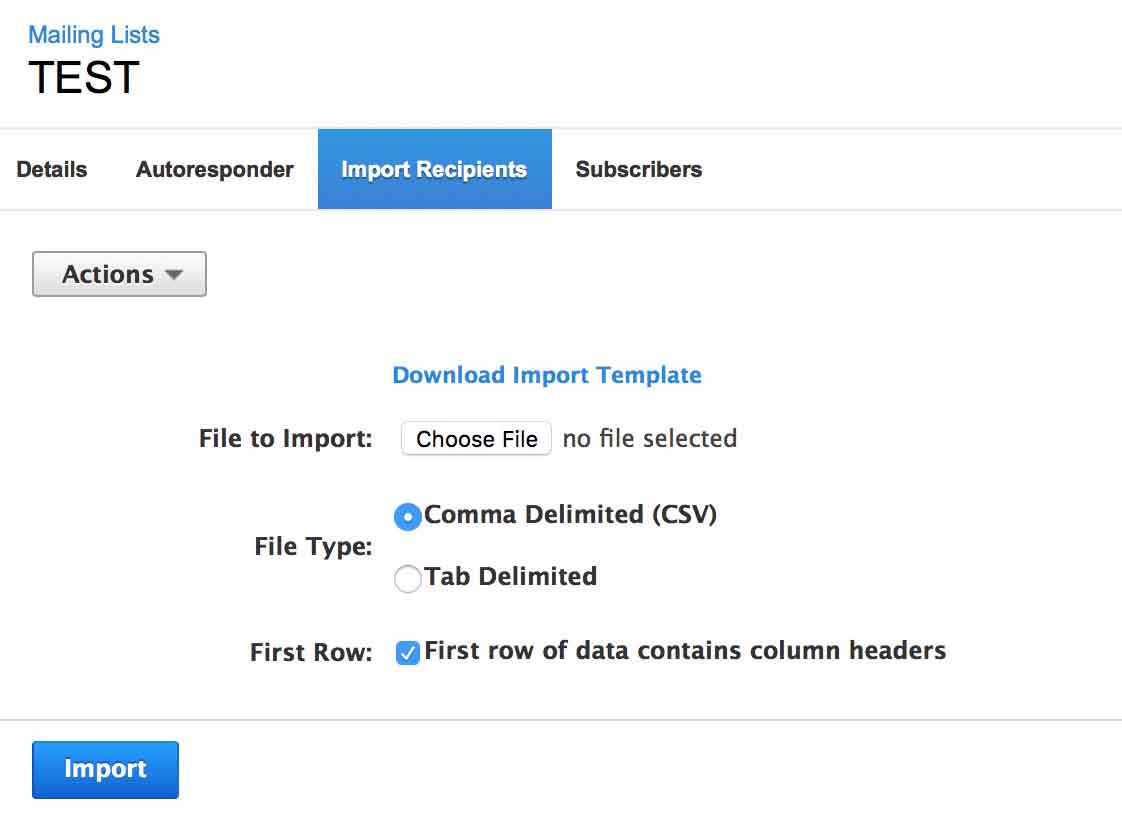
While looking at your chosen mailing list in Siteglide, find your way to the “Import Recipients” tab just below the name of your mailing list. Here you will see that you can upload a file containing a list of all your wonderful customers, luckily we also give you the option to “Download Import Template”- wasn’t that nice of us? Go ahead and click this link.
Step 3
Next thing you want to do, is open the template file you downloaded, the file will open in Excel or Numbers depending on your preference.
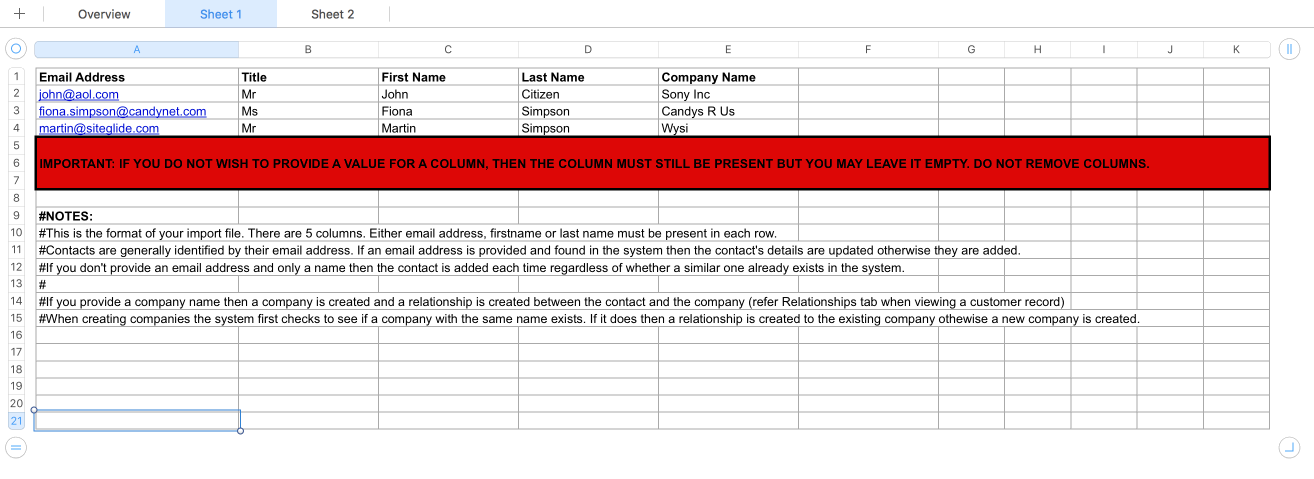
Now click on the “Sheet 1” tab and select all content below the column headers and delete the rows. Once you’ve done this, input your customer information: Email, Title, First Name, Second Name, Company Name (if applicable).
Also, ensure that you don't add in or remove any columns- the system won't like that.
Finally, save the file using “Save As…” and select the “.csv” format - that bit’s important if you don’t save the file as a .csv, it won’t work.
Step 4
Now you can go back to your mailing list in Siteglide and hit the “upload” button, select your newly saved .csv file and click upload.
All done! Simple, right?
To find out how you can send an email campaign on Siteglide, click here.
If you would like to add the email marketing service to your account, then get in touch with us.
Martin Sanderson